
Deploy a Django App
Django is a powerful Python web framework that simplifies web development by providing ready-to-use tools for rapid development and clean design.
It’s free, open-source, and comes with a range of features to streamline tasks like authentication, routing, and database management, so developers can focus on building their applications without handling everything from scratch.
Create a Django App
Note: If you already have a Django app locally or on GitHub, you can skip this step and go straight to the Deploy Django App on Railway.
To create a new Django app, ensure that you have Python and Django installed on your machine.
Follow the steps blow to set up the project in a directory.
Create a virtual environment
python -m venv envActivate the virtual environment
source env/bin/activateNote: For windows developers, run it as env\Scripts\activate in your terminal.
Install Django
python -m pip install djangoOnce everything is set up, run the following command in your terminal to provision a new Django project:
django-admin startproject liftoffThis command will create a new Django project named liftoff.
Next, cd into the directory and run python manage.py runserver to start your project.
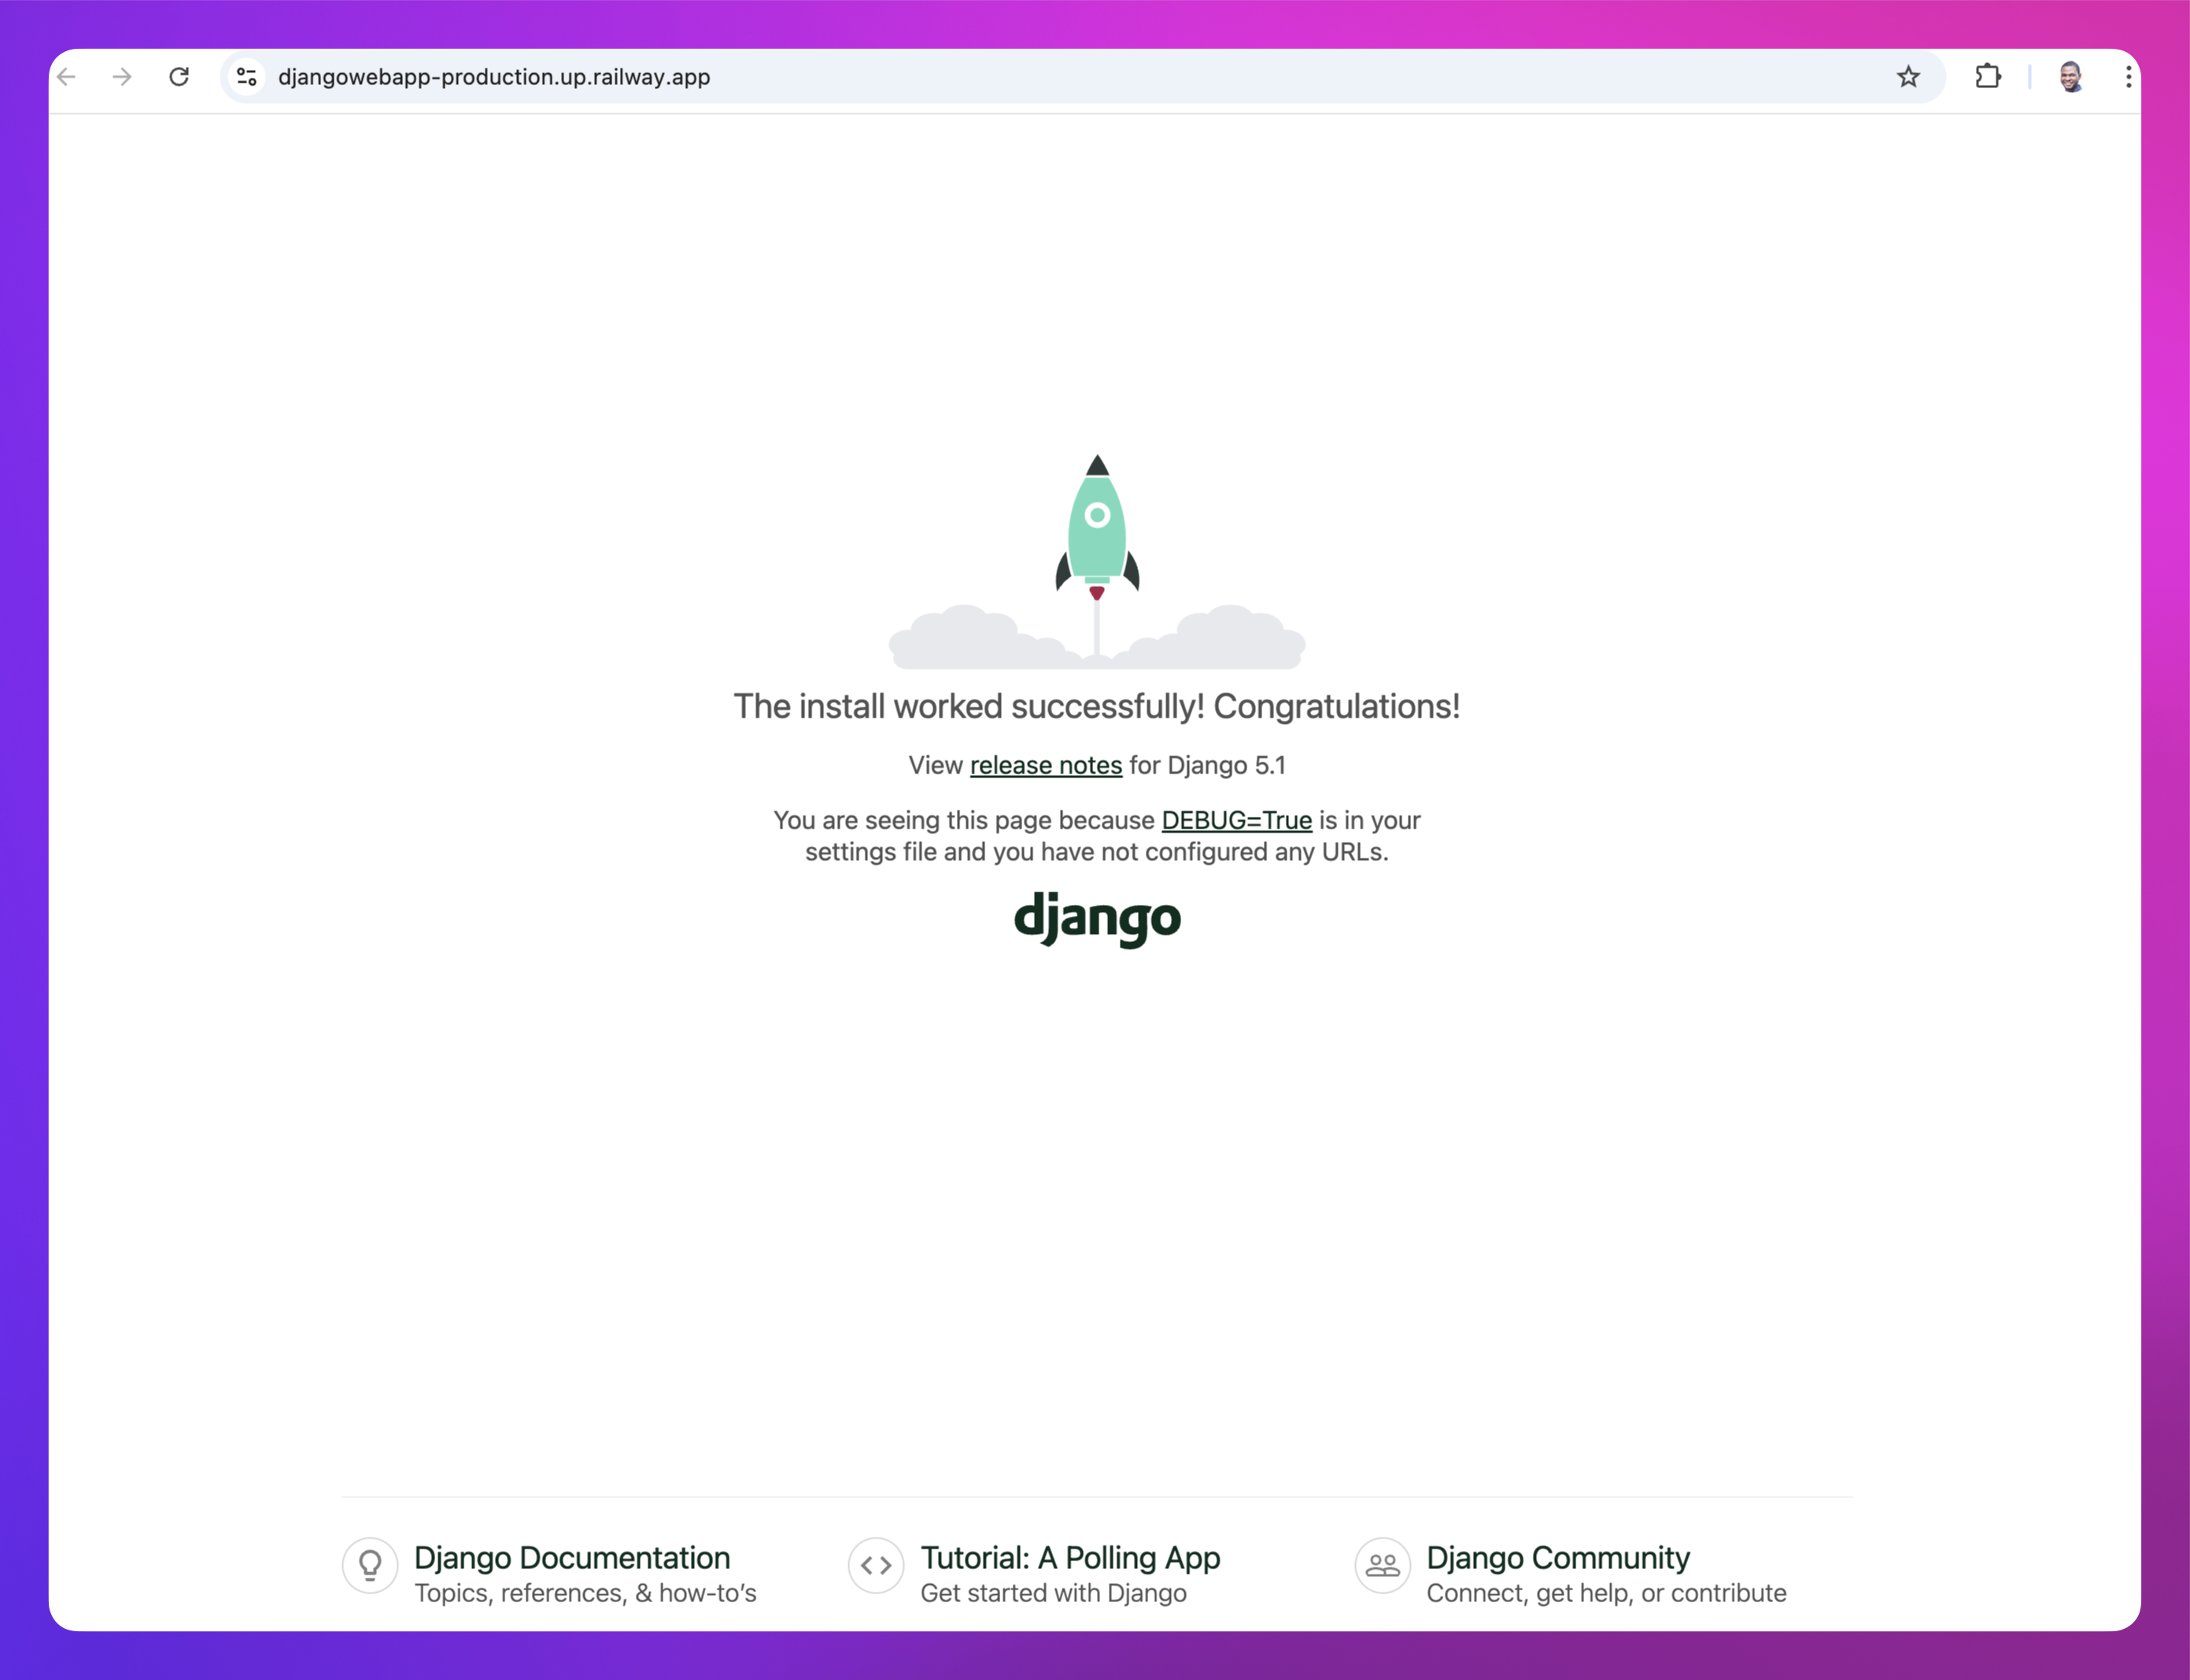
Open your browser and go to http://127.0.0.1:8000 to see the project. You'll see the Django welcome page with a "The install worked successfully! Congratulations!" paragraph.
Note: You'll see a red notice about unapplied migration(s). You can ignore them for now. We'll run them when we deploy the project.
Now that your app is running locally, let’s move on to make some changes and install some dependencies before deployment.
Configure Database, Static Files & Dependencies
- Install the following packages within the
liftoffdirectory, where you can see themanage.pyfile.
python -m pip install gunicorn whitenoise psycopg[binary,pool]whitenoise is a Python package for serving static files directly from your web app. It serves compressed content and sets far-future cache headers on content that won't change.
gunicorn is a production ready web server.
pyscog is python package that allows Django work with Postgresql.
- Import the
osmodule:
Open the liftoff/settings.py file located in the inner liftoff directory (the one containing the main project settings).
At the top of the file, add the following line to import the os module, placing it just before the Path import:
import os
from pathlib import Path- Configure the database:
A fresh Django project uses SQLite by default, but we need to switch to PostgreSQL.
Open the liftoff/settings.py file. In the Database section, replace the existing configuration with:
# Database
# https://docs.djangoproject.com/en/5.1/ref/settings/#databases
DATABASES = {
    'default': {
        'ENGINE': 'django.db.backends.postgresql',
        'NAME': os.environ["PGDATABASE"],
        'USER': os.environ["PGUSER"],
        'PASSWORD': os.environ["PGPASSWORD"],
        'HOST': os.environ["PGHOST"],
        'PORT': os.environ["PGPORT"],
    }
}- Static files configuration:
We'll configure Django to serve static files using WhiteNoise.
Open liftoff/settings.py and configure the static files settings:
STATIC_URL = 'static/'

STATIC_ROOT = os.path.join(BASE_DIR, "staticfiles")
STATICFILES_DIRS = [os.path.join(BASE_DIR, "static")]
Add the WhiteNoise middleware in the MIDDLEWARE section, just below the security middleware:
MIDDLEWARE = [
    'django.middleware.security.SecurityMiddleware',
    'whitenoise.middleware.WhiteNoiseMiddleware',
    'django.contrib.sessions.middleware.SessionMiddleware',
    'django.middleware.common.CommonMiddleware',
    'django.middleware.csrf.CsrfViewMiddleware',
    'django.contrib.auth.middleware.AuthenticationMiddleware',
    'django.contrib.messages.middleware.MessageMiddleware',
    'django.middleware.clickjacking.XFrameOptionsMiddleware',
]- Update
ALLOWED_HOSTSsettings:
ALLOWED_HOSTS = ["*"]This setting represents the list of all the host/domain names our Django project can serve.
- Create a static folder:
Inside your liftoff directory, create a static folder where all static assets will reside.
- Create a
requirements.txtfile:
To track all the dependencies for deployment, create a requirements.txt file:
pip freeze > requirements.txtNote: It's only safe to run the command above in a virtual environment, else it will freeze all python packages installed on your system.
With these changes, your Django app is now ready to be deployed to Railway!
Deploy Django App on Railway
Railway offers multiple ways to deploy your Django app, depending on your setup and preference. Choose any of the following methods:
One-Click Deploy from a Template
If you’re looking for the fastest way to get started, the one-click deploy option is ideal. It sets up a Django app along with a Postgres database.
Click the button below to begin:

After deploying, we recommend that you eject from the template to create a copy of the repository under your own GitHub account. This will give you full control over the source code and project.
Deploy from the CLI
To deploy the Django app using the Railway CLI, please follow the steps:
- Install the Railway CLI:
- Install the CLI and authenticate it using your Railway account.
- Initialize a Railway Project:
- Run the command below in your Django app directory.
railway init - Follow the prompts to name your project.
- After the project is created, click the provided link to view it in your browser.
- Run the command below in your Django app directory.
- Deploy the Application:
- Use the command below to deploy your app:
railway up - This command will scan, compress and upload your app's files to Railway. You’ll see real-time deployment logs in your terminal.
- Use the command below to deploy your app:
- Add a Database Service:
- Run
railway add. - Select
PostgreSQLby pressing space and hit Enter to add it to your project. - A database service will be added to your Railway project.
- Run
- Configure Environment Variables:
- Go to your app service Variables section and add the following:
PGDATABASE: Set the value to${{Postgres.PGDATABASE}}(this references the Postgres database name). Learn more about referencing service variables.PGUSER: Set the value to${{Postgres.PGUSER}}PGPASSWORD: Set the value to${{Postgres.PGPASSWORD}}PGHOST: Set the value to${{Postgres.PGHOST}}PGPORT: Set the value to${{Postgres.PGPORT}}
- Use the Raw Editor to add any other required environment variables in one go.
- Go to your app service Variables section and add the following:
- Redeploy the App Service:
- Click Deploy on the app service on the Railway dashboard to apply your changes.
- Verify the Deployment:
- Once the deployment completes, go to View logs to check if the server is running successfully.
- Set Up a Public URL:
- Navigate to the Networking section under the Settings tab of your new service.
- Click Generate Domain to create a public URL for your app.
Deploy from a GitHub Repo
To deploy the Django app to Railway, start by pushing the app to a GitHub repo. Once that’s set up, follow the steps below to complete the deployment process.
-
Create a New Project on Railway:
- Go to Railway to create a new project.
-
Deploy from GitHub:
- Select Deploy from GitHub repo and choose your repository.
- If your Railway account isn’t linked to GitHub yet, you’ll be prompted to do so.
- Select Deploy from GitHub repo and choose your repository.
-
Add Environment Variables:
- Click Add Variables and configure all the necessary environment variables for your app.
PGDATABASE: Set the value to${{Postgres.PGDATABASE}}(this references the Postgres database name). Learn more about referencing service variables.PGUSER: Set the value to${{Postgres.PGUSER}}PGPASSWORD: Set the value to${{Postgres.PGPASSWORD}}PGHOST: Set the value to${{Postgres.PGHOST}}PGPORT: Set the value to${{Postgres.PGPORT}}
Note: We don't have the Postgres Database service yet. We'll add that soon.
- Click Add Variables and configure all the necessary environment variables for your app.
-
Add a Database Service:
- Right-click on the Railway project canvas or click the Create button.
- Select Database.
- Select Add PostgreSQL from the available databases.
- This will create and deploy a new Postgres database service for your project.
-
Deploy the App:
- Click Deploy to start the deployment process and apply all changes.
- Once deployed, a Railway service will be created for your app, but it won’t be publicly accessible by default.
-
Verify the Deployment:
- Once the deployment completes, go to View logs to check if the server is running successfully.
Note: During the deployment process, Railway will automatically detect that it’s a Django app.
-
Set Up a Public URL:
- Navigate to the Networking section under the Settings tab of your new service.
- Click Generate Domain to create a public URL for your app.
This guide covers the main deployment options on Railway. Choose the approach that suits your setup, and start deploying your Django apps effortlessly!
Next Steps
Explore these resources to learn how you can maximize your experience with Railway:
Edit this file on GitHub