
Managing Projects
A Railway project contains any services, environments, and deployments that an app needs. Projects can be found on your project dashboard.
Click on a project card to go to the project canvas:

Project settings can be managed through the Settings button at the top right of the project canvas.
Managing Project Info
A project's name and description can be changed from the General tab within a project's settings.
The project id can also be retrieved here.
Deleting a Project
A project can be deleted by selecting the Delete Project button in the Danger tab. Deleting a project will delete all services, environments, and deployments associated with the project.
Specific services within a project can also be deleted from this page.
Inviting Members
Invite members to access a project through the Members tab in your Project Settings.
You can invite a member by sending an invitation to their email address, or by generating an invite link to send to them directly.
Click here to view the scope definitions for permissions.
Invite by Email
Invite a new member via email by specifying their email address and scope of permissions, then click Invite.
This will send an email to the address specified containing a link to join your project.
Invite by Link
Each project generates a project invite link. To invite someone via a link:
- Select the desired invited member scope
- Copy link and send to the invitee
Transferring Projects
You can transfer a project to another member in the members list by selecting the three dots next to the user and choosing Transfer Ownership.
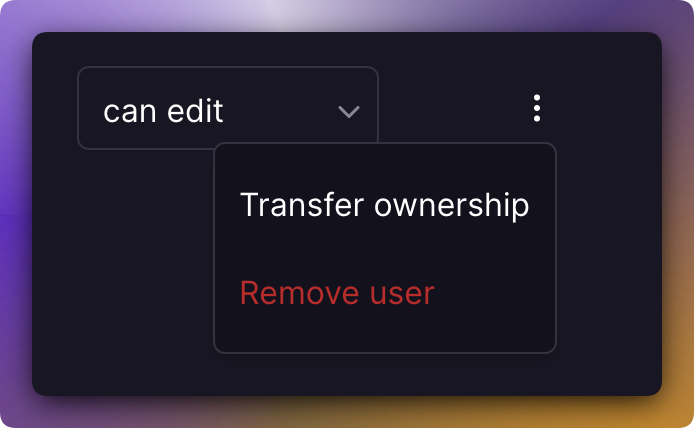
The transferee receives an email with the current owner requesting to transfer the project to the user. Once that user accepts the transfer, they become the new owner of the project.
Viewing Recent Activity
The activity feed shows all the changes that have been made to a project. This includes changes to services and volumes. You can click on a change to see everything that was committed.

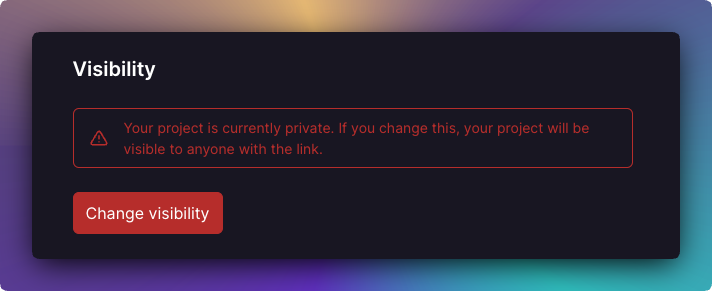
Updating Project Visibility
Projects are private by default and only accessible to members of the project. However, you can make your projects public to share in a read-only state by changing the visibility in project settings -
Edit this file on GitHub